How to Connect Ceiling Fan Wires: Step-by-Step Installation Guide?

Table of Contents
Ceiling fan wiring is one of those tasks people often underestimate until they are standing on a ladder holding loose wires. In almost every ceiling fan wiring guide, the first thing professionals stress is that fans are not wired like lights.
Knowing how to connect ceiling fan wires properly avoids long-term issues such as slow speed, unusual humming, or fans that work fine today but stop unexpectedly later. This guide explains the process the way it’s usually handled in real homes and how to check ceiling fan wiring.
Understanding Ceiling Fan Wiring Basics

Understanding ceiling fan wiring is less about memorising colours and more about understanding how power behaves once it enters the fan. Electricity comes in through the phase wire, moves through the switch and regulator, interacts with the capacitor, and finally reaches the motor before returning through the neutral.
A practical ceiling fan wiring guide focuses on this flow because fans often appear to work even when something is wrong. Problems usually show up later, when speed control becomes uneven or the motor starts heating for no obvious reason.
Tools and Safety checks before Wiring
Before beginning ceiling fan installation wiring, slowing down for safety checks saves time later. Many wiring problems are caused not by lack of skill, but by rushing early steps.
Power Isolation
Turning off only the wall switch is never enough. Power must be cut from the main supply so the circuit is fully dead. This matters when handling ceiling fan wire connection, especially when insulation is stripped. Always test the wires. Even experienced electricians pause here because electrical mistakes usually happen when people assume instead of checking.
Essential Tools
A basic set of tools is enough if they are in good condition. Insulated screwdrivers, a tester, wire stripper, insulation tape, and a stable ladder make the job calmer. During ceiling fan installation step by step, good tools help ensure tight connections. Loose screws often cause heating issues much later, not immediately.
Ceiling Box Inspection
Fans create small vibrations every time they run. If the ceiling box is weak, that movement slowly transfers stress to the wiring. Over months, this can loosen terminals even if wiring was initially correct. Checking the box early avoids problems that appear long after installation.
Wire Condition Check
Old wires can look fine until touched. Brittle insulation, exposed copper, or loose strands are common in older homes. Addressing these early also makes it easier later when you check ceiling fan wiring during troubleshooting.
Identifying Ceiling Fan Wires
Before learning how to connect fan wires, you must know about the wires involved. Correct identification is the base of safe ceiling fan wire connection, and it’s where most confusion starts.
Phase (Live) Wire
The phase wire brings power from the switch through fan regulators to the motor. It is usually red or brown. If connected incorrectly, the fan may stay live even when switched off or fail to respond properly to speed changes.
Neutral Wire
The neutral wire completes the circuit and is usually blue or black. A loose neutral doesn’t always stop the fan immediately. Instead, it causes unstable behaviour like uneven speed or sudden stopping, which often gets misdiagnosed as a motor issue.
Earth Wire
The earth wire is a safety path for leakage current. It is commonly green or yellow-green. Many fans run without it, but skipping this connection increases risk, especially with metal-bodied fans or damp environments.
Capacitor Wires
These wires connect the internal capacitor to the motor windings. Proper fan wiring with capacitor creates the phase difference needed for rotation. Incorrect connections here usually cause humming or weak startup.
Ceiling Fan Wiring Diagram Explained
A ceiling fan wiring diagram helps turn loose wires into a complete picture.
-
Switch Connection: The phase wire passes through the wall switch before reaching the regulator. This ensures simple ON and OFF control while isolating the rest of the circuit when switched off.
-
Regulator Path: The regulator controls how much voltage reaches the fan. Modern electronic fan regulators provide smoother speed control and generate less heat. Incorrect wiring here often causes limited speed range or buzzing sounds.
-
Capacitor Placement: The capacitor sits at a critical point in the circuit. Its position in a ceiling fan wiring diagram must be correct, or the fan may struggle to start or run inconsistently.
-
Motor Terminals: Motor terminals receive controlled power. Loose terminals may not fail immediately, but they cause vibration, noise, and heating over time.
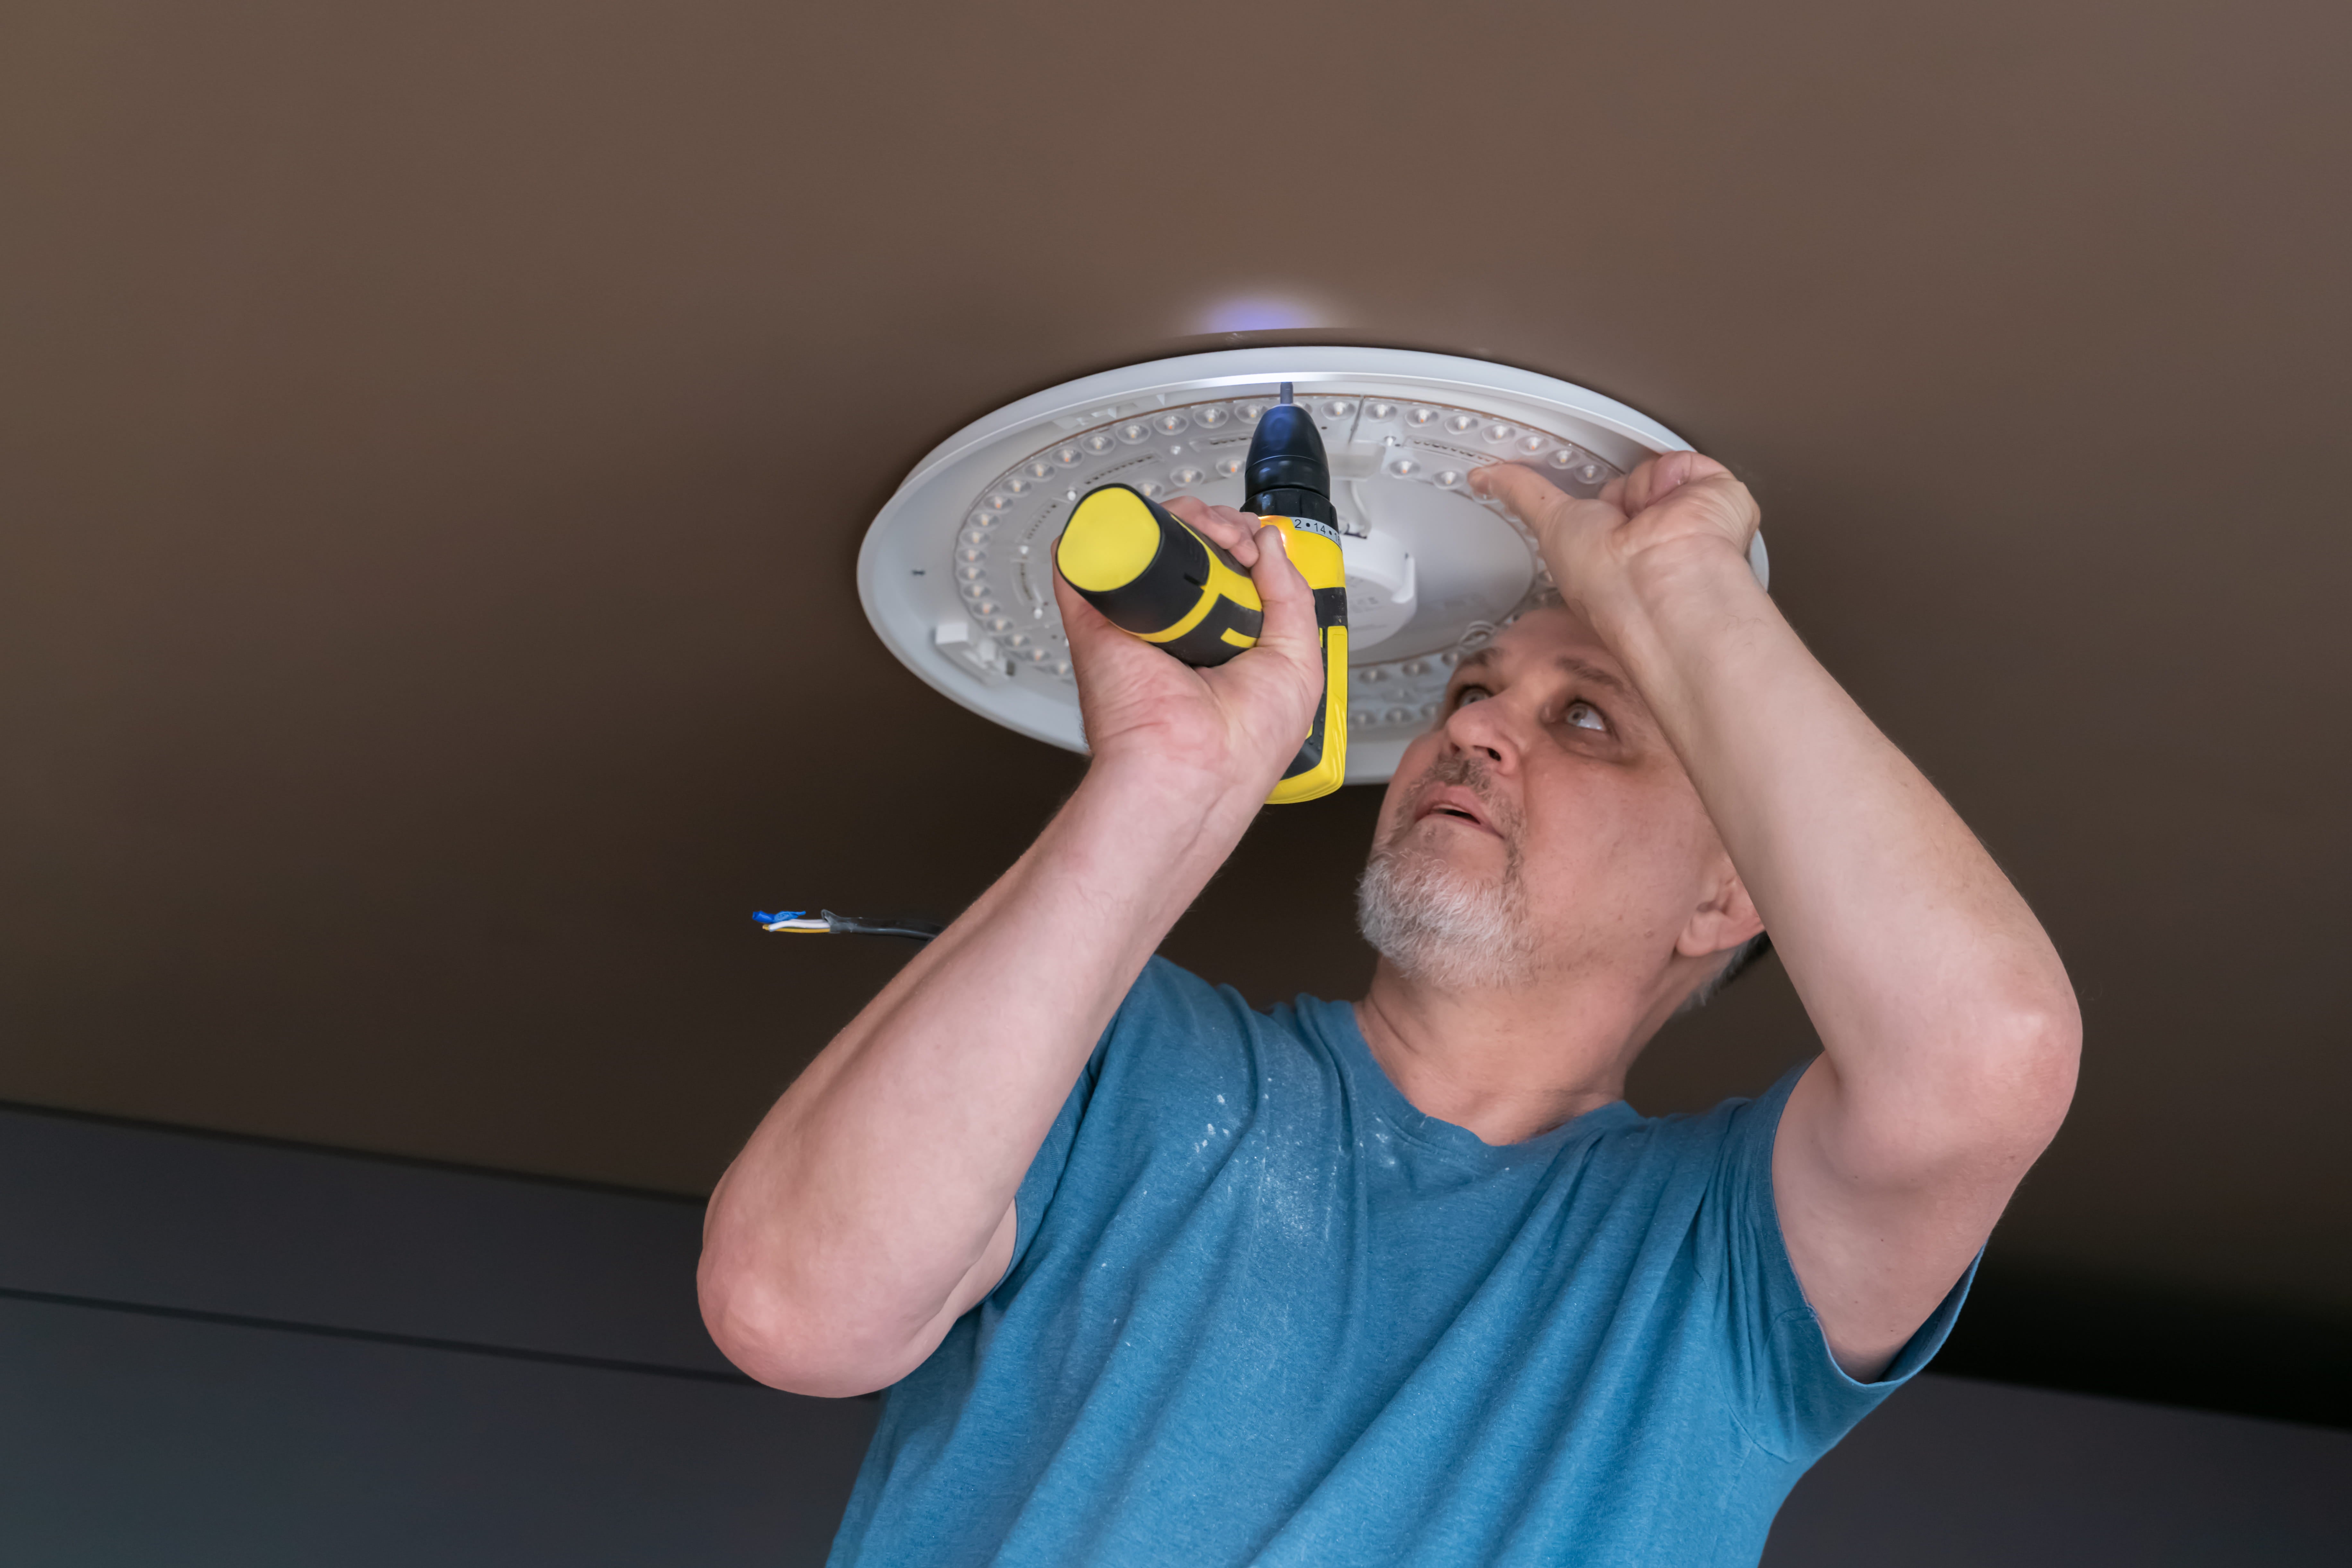
Step-by-Step Ceiling Fan Installation Wiring
The ceiling fan installation step by step process is usually not rushed in real situations. Most careful installations follow a natural order rather than strict rules. The idea is to move slowly, check each connection as you go, and avoid assuming anything is already safe. These steps reflect how the work is typically done when safety and long-term reliability matter.
Step 1: Turn Off Main Power
Before touching any wire, power should be cut from the main board. This is not something to hurry through. A tester is used simply to be sure nothing is live. Even when the switch looks off, this extra check prevents surprises and sets a safe base for the rest of the work.
Step 2: Mount the Fan Securely
The mounting bracket needs to feel solid before wiring even begins. If the fan can move slightly by hand, that movement will only increase later. Over time, such movement transfers stress to wires and terminals, which is why taking a moment here saves problems much later.
Step 3: Connect Phase through Regulator
The phase wire is routed through the regulator so speed control behaves normally. This part is often where mistakes happen. If the routing feels confusing, it usually means something is being skipped. Once done correctly, speed changes feel smooth and predictable during use.
Step 4: Connect Neutral and Earth
Neutral wires are joined calmly and without force, while the earth wire is attached to the fan body. Even though the fan may work without earth, this connection exists for safety, not appearance. It quietly protects against faults that are otherwise invisible.
Step 5: Secure Capacitor Connections
Capacitor connections are checked twice, not because they are complicated, but because they matter. A loose capacitor wire often causes noise or weak starting. When connected properly, the fan starts smoothly and runs without strain, which is usually noticeable right away.
Step 6: Final Testing
Power is restored and the fan is observed rather than rushed. A steady start, normal sound, and clean speed changes are good signs. If anything feels unusual, power is turned off again and connections are revisited before letting the fan run continuously.
Also Read: Ceiling Fan Regulators: Types, Components & Issues
Conclusion
Proper ceiling fan wiring affects far more than whether the fan spins. It influences safety, efficiency, and how long the fan lasts. By following a practical guide, understanding the wiring diagram, and knowing how to connect ceiling fan wires, installation becomes more dependable.
Careful wiring, along with correct use of fan regulators, prevents issues that often appear months after rushed installations. Buy the best electrical components required from the SmartShop of Lauritz Knudsen Electrical & Automation for enhanced convenience. Also, to ensure safety, it is recommended to hire an electrician for the wiring and installation.
FAQ's
Q1. Can ceiling fan wiring be done without a regulator?
Ans: Yes, it can be done, and people do try it sometimes just to check whether the fan runs. The fan will usually spin at full speed and nothing more than that. At first it feels fine, but after using it for a while, most people miss having control. Regulators are less about wiring necessity and more about everyday comfort and practicality.
Q2. Why does a ceiling fan rotate slowly even after correct wiring?
Ans: This is one of those cases where everything looks right but still doesn’t feel right. Often the wiring is fine, but something else is aging. Capacitors don’t stay strong forever, regulators weaken, and voltage supply isn’t always steady. Add dust inside the motor, and the fan starts feeling lazy even though nothing seems “wrong.”
Q3. Is it safe to use aluminum wires for ceiling fan connections?
Ans: Aluminum wires usually work at first, but they tend to need more attention over time. They heat faster and don’t always stay tight at terminals. Copper handles this better. If aluminum wiring already exists, it’s not an emergency, but it does mean connections shouldn’t be ignored or left unchecked for long periods.
Q4. What happens if the ceiling fan capacitor value is slightly higher or lower?
Ans: Most of the time, nothing obvious happens immediately. That’s why this gets overlooked. A higher value quietly pushes the motor harder, while a lower value often shows up as slow starting or a faint hum. The fan still runs, but over months or years, the motor ends up paying the price.
Q5. Can ceiling fan wiring issues affect other appliances in the room?
Ans: Yes, and it’s usually subtle rather than dramatic. Loose connections don’t always trip anything right away. Instead, you might notice lights flicker now and then, or another device behaving oddly for no clear reason. Heat also builds up slowly at weak joints, affecting the entire circuit, not just the fan.
Comments